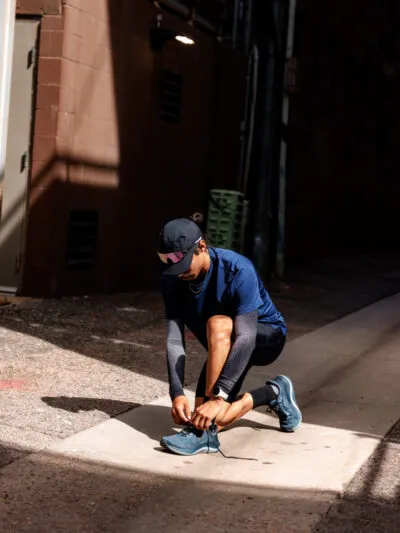
Tying your shoes – it’s something you learn about at a young age. And once you have the bunny ears down, you usually don’t have to spend much time thinking about it. Tying shoes starts to become second nature when you slide on a pair of shoes.
But with running shoes, how you tie your shoes can actually have a huge impact on the shoe’s fit, feel, and comfort. The right lacing can make or break your favorite running shoes. It can help prevent heel slipping, instep pressure, and a wide range of other aches and pains.
Dealing with some foot pain or heel slippage in your favorite running shoes? This guide is for you. We’ll go over how a standard shoe lacing should feel on your feet, as well as some alternative threading options for a better, more secure fit and less foot pain throughout walks or runs.
How Should a Laced-Up Running Shoe Feel?
Before we dive into all the different ways you can lace up your running shoe, we’ll first cover what to look for when you lace up your shoes.
When tying running shoes right out of the box, pull the laces until the shoe feels snug and secure but is not cinched tight enough to cause discomfort or pressure on the top of the foot.
As you start to move, you shouldn’t notice any slipping in the heel or excess movement or sliding around the foot. However, you always want to make sure you have room for your toes to wiggle around in the front of the shoe, and that there’s enough slack in the laces for feet to swell or splay out throughout a run.
Found a new running shoe but can’t get it to fit just right? It’s possible that the standard out-of-the-box lacing style just may not work for your feet. Here’s our complete guide to how to tie your running shoes to avoid some common fit issues.
Runner’s Loop: Best for Heel Slippage
One of the most common issues when it comes to how a running shoe fits is heel slippage. There’s nothing more annoying than when a shoe feels almost perfect, but when you start to run, your heel feeling like it’s rising out of the shoe.
Heel slippage happens for any number of reasons. You might have the incorrect size. The shoe may be too wide around the heel. Or the laces may simply not be secure enough.
The good news is that there’s an easy lacing fix that can lock your heel in place and prevent this slipping and sliding as you move.
When you look at your running shoes, you’ll see a second hole by the heel, past where the shoes are laced in the factory. Ever wondered what that extra eyelet is for? Here’s how you can use it to lock your heel with the runner’s loop, also known as heel lock lacing.
- Tie your shoes using traditional crisscross lacing up until the second-to-last hole
- Insert the lace as usual into the second-to-last hole
- Insert each lace from the outside to the inside through the last eyelet on the same side, creating a small loop on both sides of the shoe
- Crisscross the laces and pull each one through the small loop on its opposite side
- Tie your shoes as usual, pulling the loops tight up against the shoe and securing the lace
This lacing method provides more support and security around the ankle, all while preventing any heel slipping that could result in discomfort and blisters throughout your runs and walks.
Window Lacing: Best for a High Instep or Hot Spots on the Top of the Foot
It’s incredibly common for feet to swell as you spend more time walking, running, or standing. This can create some discomfort around the top of the feet, especially for anyone with a high instep.
Here’s how you can use window lacing to alleviate hot spots and create more breathing room around the feet.
- Lace your shoes using the standard crisscross method up until the hole right before your usual pressure points or trouble area
- Instead of crossing over as usual, thread the lace up vertically through the above eyelet on the same side of the shoe
- Cross the laces over to the other side and continue lacing as usual until the last hole
- Tie your shoes as usual. They should feel snug around the top but spacious around where you usually feel pain
Window lacing is a simple and effective solution to common foot pain and pressure. This technique creates an opening – a “window” – across the problem areas of the foot, keeping you comfortable and reducing pain over the course of long runs or walks.
Parallel Lacing: Best for Wide Feet
Anyone with wide feet is all too aware of how constrictive standard running shoe lacing can feel. Parallel lacing is a great way to create more give and flexibility around your feet for a more accommodating fit.
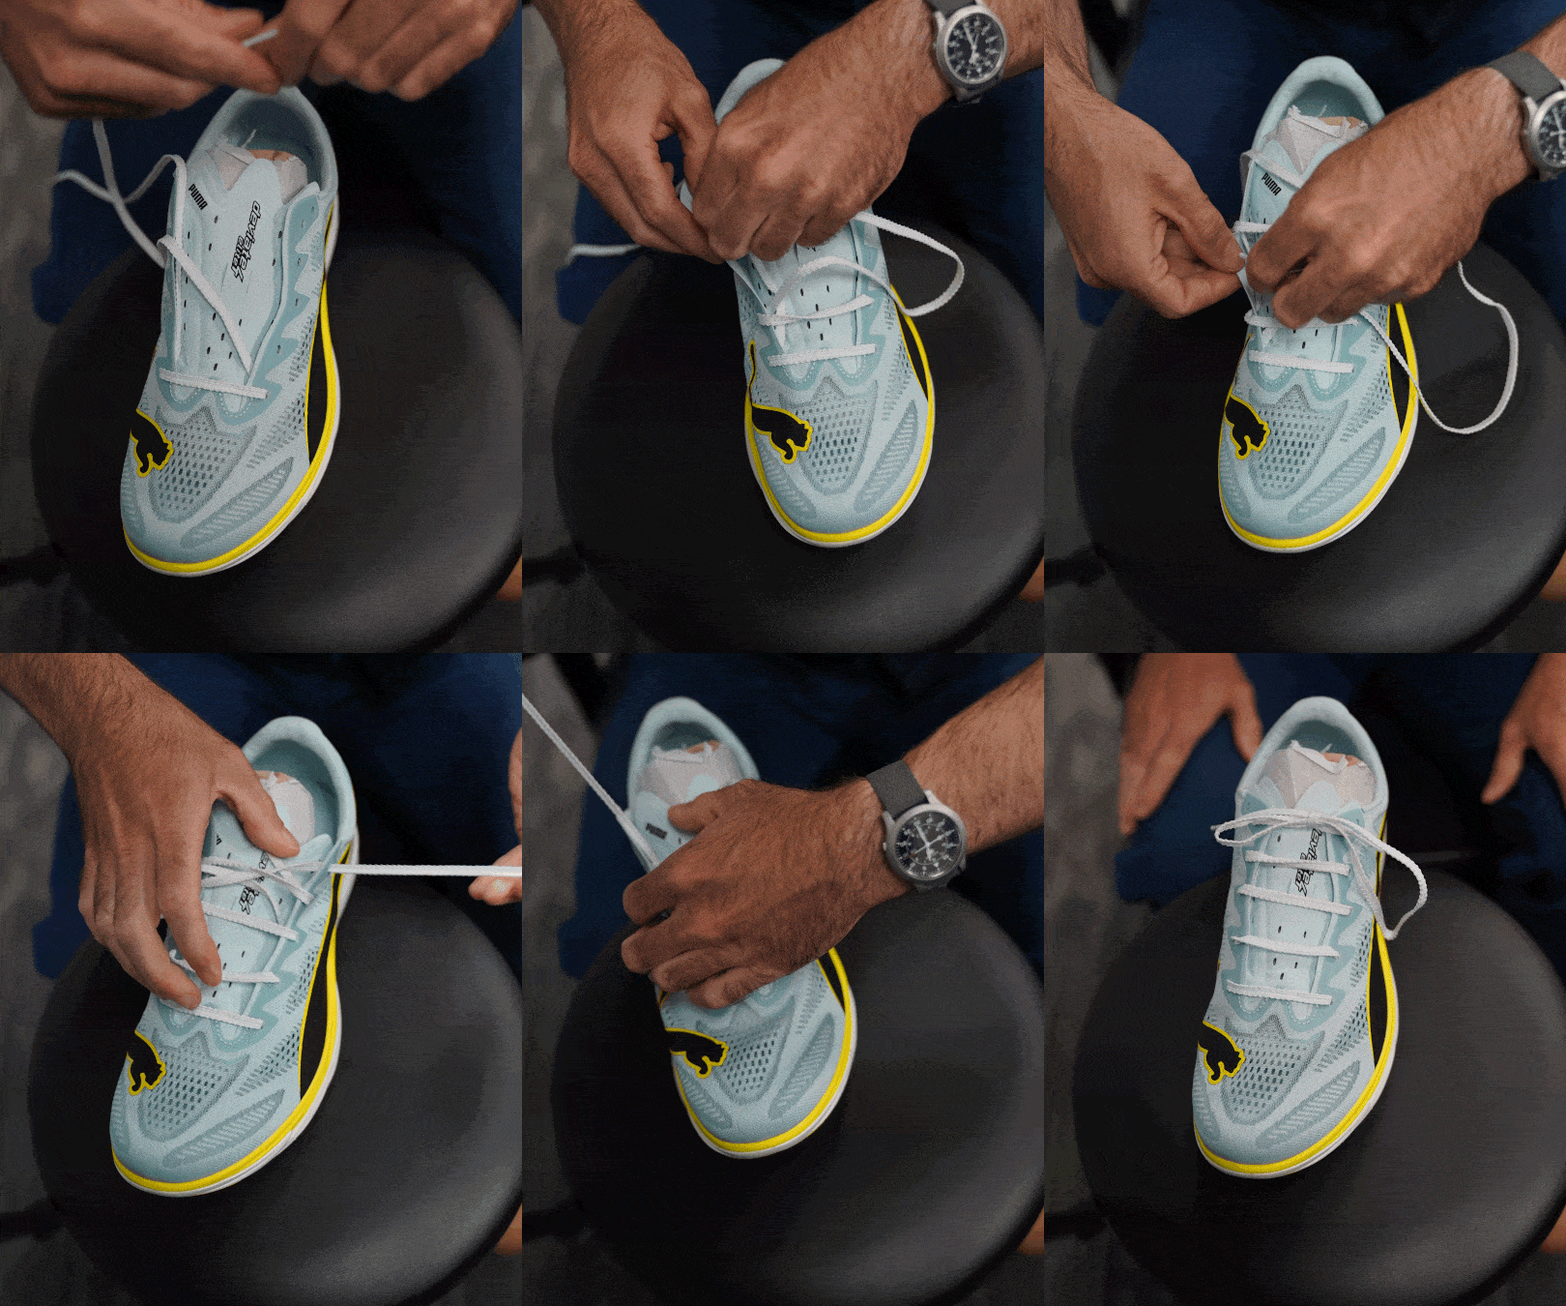
- Fully remove the lace from your running shoe
- Insert the lace, going from inside to outside, in the first two holes on the same side
- Using the lace from the bottom hole, move it across the tongue in a horizontal line and insert it from outside to inside the hole directly across. This will form your first horizontal line
- On the same side, skip the above eyelet and insert the lace from the inside to outside of the third hole
- Using the other lace, go directly across and insert it into the skipped-over second hole from the outside to the inside
- Bring the lace straight up on the same side, skipping the above eyelet and inserting it from inside to outside of the next one up
- Repeat this pattern of bringing each lace across to the opposite side and straight up on the same side until you reach the final eyelet
This lacing method will form parallel bars above the top of the foot. It still should feel snug and secure, but this technique reduces any uncomfortable pressure caused by the traditional crisscross lacing pattern.
Single Helix Lacing: Best for Sore Toes
Many runners have accepted sore toes and lost toenails as a standard part of the sport. Luckily, if you’re one of those runners, there’s an easy lacing solution. Single helix lacing creates more volume in the front of the shoe and loosens up the toe box to give you more wiggle room.
- Use traditional factory lacing for the first eyelet on each side, inserting the laces from the outside in
- With one lace, cross over diagonally all the way across the tongue and insert the lace into the top eyelet on the opposite side of the shoe
- Crisscross the other lace through each eyelet on both sides of the shoe until it’s even with the diagonal lace on the other side
- Tie your shoes as usual
By providing some extra space in the toe box, you can say goodbye to sore, painful toes and missing toenails.
Alternative Shoelace Options
These running shoe lacing tips can be great tools in combating specific aches, pains, and fit issues with your favorite shoes. But occasionally, standard laces just don’t work for someone.
Whether it’s someone facing mobility challenges, a runner or walker always on the go, or someone who needs more all-around give in their shoes, no-tie laces may be a better, more convenient choice.
Bungee laces like the Nathan Run Laces can make any shoe model a no-tie shoe. If traditional laces aren’t working for your feet, try a no-tie lace for a more adaptive, accessible fit.


The Bottom Line: Find Your Perfect Lacing Style
It can be incredibly frustrating to find a nearly perfect shoe – or even bring one home – just to discover that something is slightly off during your first run or walk. Fortunately, if this happens to you, you don’t need to write off the shoe entirely.
Lacing can make a huge difference in how a shoe feels and performs. From heel movement to sore big toes, changing around your lacing technique can be the difference between a shoe being almost perfect and just right.
If you’re dealing with any of the issues above, you’ve come to the right place. We hope these lacing techniques help you have the best, most pain-free runs possible.
And if you have any questions, the dedicated Marathon Sports team is always happy to help. Swing by any of our locations to learn more about the perfect running shoe fit, lacing styles, and all things running, walking, and fitness.